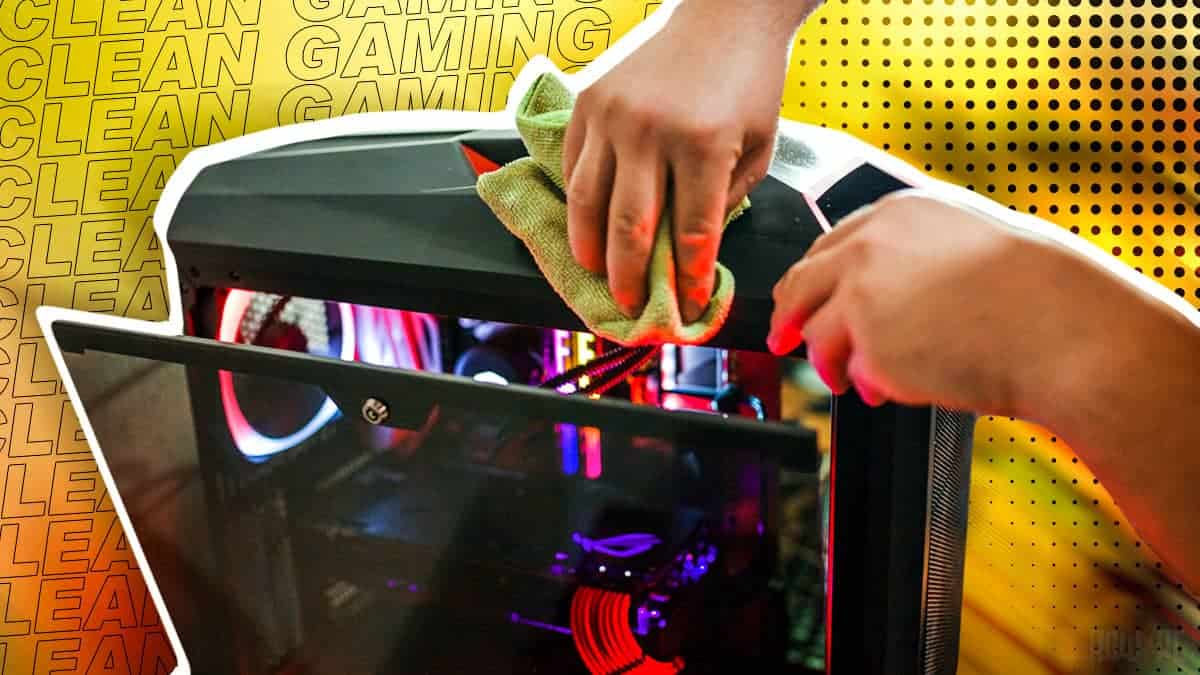
Cleaning a gaming PC is not only trivial for giving the PC a shiny new look but also for maintaining the proper operating health of the system. You see, the biggest kryptonite of gaming PCs is heat and that is caused by dust. Dust accumulation is inevitable if the PC is not cleaned properly.
Therefore, you must consider cleaning a priority and it should be at the top of your list. In a nutshell, cleaning the PC is relatively simple. All it takes is a couple of accessories and some spare time.
PC cleaning can be divided into three distinct steps. First is the shallow cleaning that is usually done by not removing the side panel. The second is interior cleaning in which you open the side panel and clean the interior of the PC.
Lastly, comes deep cleaning. This cleaning method consists of fully cleaning the PC from outside and inside while also disassembling each component of the PC and cleaning it individually as well.
Along with the physical cleaning, the digital cleaning of the PC and getting rid of unwanted applications from the hardware are also important. There is a lot to look at so without further ado, let’s begin.
The Steps Involved in Cleaning a Gaming PC
The complete cleaning of a gaming PC can be done with 3 steps. Each of the steps involves a certain process. This 3-step method consists of the following:
- Shallow Cleaning
In this first step, our main focus is around cleaning the outside of the PC. All the exterior case panels and the dust filters fall in this step. This step is the simplest of the lot and requires only a damp microfiber towel.
- Interior Cleaning
After the outside cleaning is done, we move on to cleaning the interior of the PC case. For cleaning the interior of the PC, we remove the side panel to access the inside of the case. Preferably it is also recommended to remove the front panel as well as the top panel of the case.
- Deep Cleaning
To give our PC the maximum clean, we are going to follow up the interior clean with the cleaning of each individual part of the PC. For this step, we will disassemble the PC and remove PC components from the case. Then only after getting cleaned thoroughly, we will reassemble the PC.
This step is a little more intricate and requires some additional accessories like fine tip brushes. These are needed to get really into the nooks and crannies of each component and free it from dust particles.
What Will You Need for Effectively Cleaning a Gaming PC
Having the proper tools at your disposal will immensely help in cleaning a gaming PC. These tools will not only save your time but also effectively clean every nook and cranny of the gaming PC.
For cleaning a gaming PC, you will be needing the following tools:
- Microfiber Cloth: Microfiber is a soft cloth compared to other rags and therefore won’t scratch your PC.
- Compressed Air Can: A can of compressed air can lift dust from hard to reach spots
- Soft Brush: The soft brush will be used to agitate the hard to remove dust spots
- A cloth Rag: Keep this with you when cleaning because it might come in handy
The Process for Cleaning a Gaming PC
The process for cleaning the gaming PC is relatively simple. You shouldn’t have any problem if you carefully execute the following steps:
- Shut down your gaming computer and unplug the power cord.
- Take a damp microfiber towel and thoroughly clean the exterior case of the PC
- Remove the dust filters and by using a soft tip brush remove the accumulated dust and grime.
- Now remove the side panel. Clean the interior of the PC with a clean and dry microfiber cloth. Use microfiber cloth on the case bits and not on the motherboard.
- Use compressed air to loosen up the dust accumulated on the motherboard. Use the air compressor in short bursts.
- At this stage, you can either disassemble your gaming PC and clean each component individually or use a clean and dry brush to remove excess dust from the motherboard and other PC parts
- Use the brush to remove the dust accumulated on the fan blades and CPU heatsink. If dust is stuck use a half-damped brush. Cleaning the fan blades and CPU heatsink is very important so don’t miss this step.
- Once the interior of the motherboard is fully dressed, use the air compressor to remove dust from the power supply compartment.
- After everything is said and done use isopropyl alcohol or rubbing alcohol to clean the temper glass panel of the case.
- Now put everything back together and your PC will be as good as new.
Cleaning the PC Digitally
Physical cleaning of the PC should be followed by digital cleaning of the PC. Over time unwanted applications can build up in your hard drive. These applications not only affect the performance of the hard drive but also bog down the speed of the PC.
Therefore, periodic cleaning of the hard drive from all the junk files is a necessary evil. The simplest way of cleaning the hardware is as follows:
- Click on the start menu. This is the Windows icon located at the bottom left side of the screen.
- Select the “Apps” option
- On the new windows that open, click on apps and features. This will be located on the left-hand side of the window.
- Choose the application that you want to be deleted. Start with applications that are foreign to your PC and don’t see any use.
- To uninstall, click on the application and select the uninstall option.
- Repeat this process for subsequent applications until your hard drive is free from all the unwanted programs.
Related Guides
Check out our price-focused prebuilt PC guides below.
- Gaming PCs Under $500
- Gaming PCs Under $800
- Gaming PCs Under $1000
- Gaming PCs Under $1500
- Gaming PCs Under $2000
Check out our GPU-focused prebuilt PC guides below.
Check out our aesthetics-focused gaming PC guides below.
Check out some of the other related guides.
- How to Check PC Specs
- Gaming Laptop vs Desktop
- How Long Does a Gaming PC Last?
- How to Check What Motherboard I Have?
- Best Prebuilt Gaming PC
Conclusion
This wraps up the article on how to clean gaming PCs. To conclude, cleaning the PC is relatively simple when you divide the whole process into 3 parts and those being shallow clean, interior cleaning, and deep cleaning.
Besides cleaning the PC physically, the digital cleaning of the hard drive is also very important in order to keep the PC operating at its maximum potential.
Now before I end this article, do let me know in the comment section what is your PC cleaning routine.

